How To Mount Dash Cam On Dashboard? 5 Step Process
Are you looking to enhance your driving experience and ensure your safety on the road? One way to achieve this is by installing a dash cam on your dashboard.
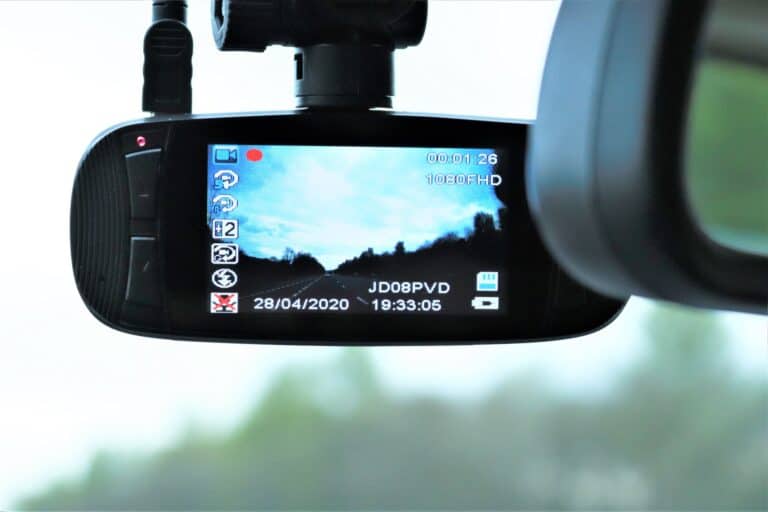
Dash cams have become increasingly popular for their ability to capture crucial moments while driving, serving as unbiased witnesses in case of accidents or disputes. In this article, we will guide you through the process of mounting a dash cam on your dashboard, providing you with the necessary steps and tips for a successful installation.
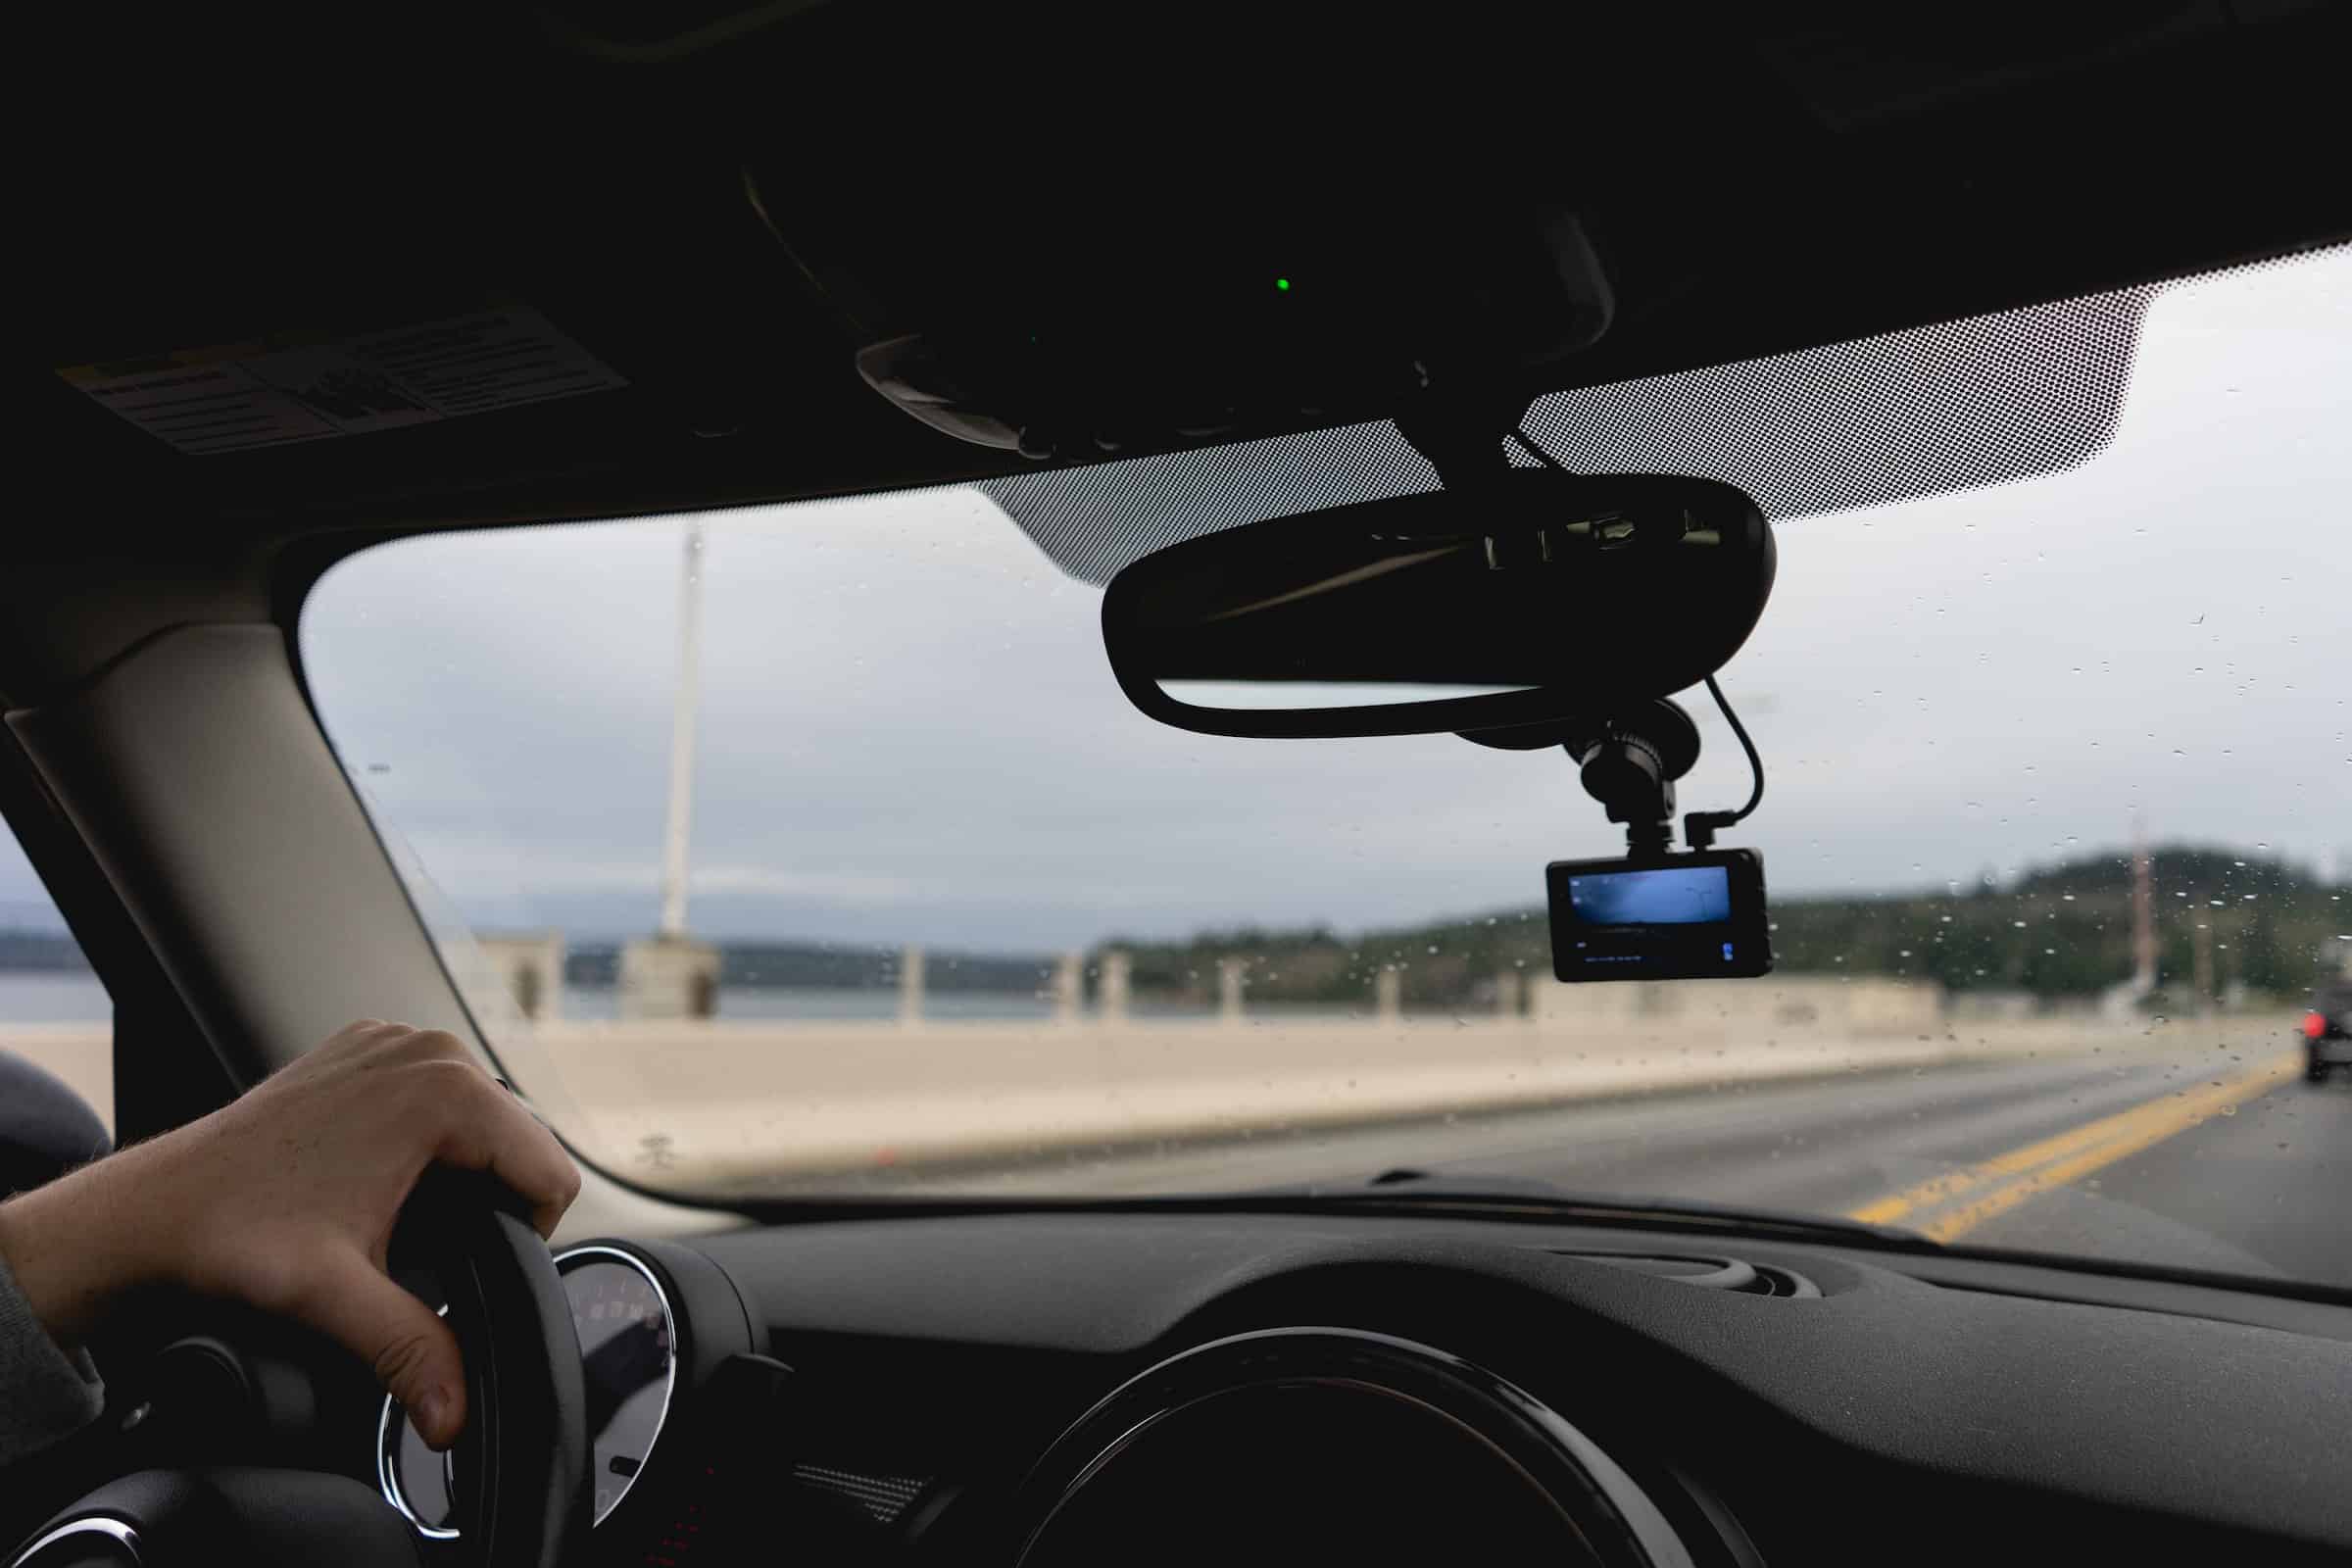
To begin, it’s important to choose the right spot for mounting your dash cam. You want to find an area that offers a clear view of the road ahead without obstructing your vision or interfering with any controls. Often, the best location is behind or near the rearview mirror.
Once you’ve selected the spot, it’s time to prepare the dashboard surface by cleaning it thoroughly with a mild detergent and water solution. This will remove any dirt or debris that could hinder adhesion and ensure a secure mount.
Next, you’ll need to install the mounting bracket provided with your dash cam. Start by determining where exactly you want it positioned and mark those spots on your dashboard using a pencil or masking tape. Then, use screws or adhesive pads (depending on the type of bracket) to attach it firmly in place. Make sure to follow any specific instructions provided by the manufacturer for optimum results.
By following these steps and ensuring a secure and stable mount, you can confidently enjoy all the benefits that come with having a dash cam on your dashboard. From capturing scenic drives to providing evidence in case of accidents, mounting a dash cam is an essential addition for any driver looking for peace of mind on their journeys.
So let’s get started!
Table of Contents
- 1. Choosing the Right Spot for Mounting
- 2. Preparing the Dashboard Surface
- 3. Installing the Mounting Bracket
- 4. Attaching the Dash Cam to the Bracket
- 5. Ensuring a Secure and Stable Mount
- Conclusion
1. Choosing the Right Spot for Mounting
Now, let’s find the perfect spot to mount your dash cam and make your driving experience even more enjoyable!
When it comes to choosing the right spot for mounting your dash cam on the dashboard, there are a few factors to consider. First and foremost, you’ll want to ensure that the camera has a clear view of the road ahead without any obstructions. This will help capture any important details or incidents that may occur while you’re driving.
Secondly, you’ll want to place the dash cam in a location that doesn’t obstruct your view of the road or distract you while driving. It’s recommended to mount it near or behind the rearview mirror, as this provides an optimal viewing angle without blocking your line of sight.
Read Also: Legal Placement of Dash Cam: Complete Guide for U.S. Drivers
Additionally, make sure to choose a spot where the dash cam won’t interfere with any controls or buttons on your dashboard. By following these guidelines and selecting a suitable location for mounting your dash cam, you can enhance your driving experience and have peace of mind knowing that important moments on the road are being captured accurately.
2. Preparing the Dashboard Surface
First, you’ll want to make sure the surface of your car’s dashboard is clean and smooth. This will ensure a secure and long-lasting mount for your dash cam.
Start by wiping down the area with a gentle cleaner or alcohol solution to remove any dirt, dust, or grease. Use a microfiber cloth to avoid scratching the surface.
Read Also: How to Remove 3M Adhesive from Windshield [For Dashcams]
Next, assess the texture of your dashboard. If it’s rough or uneven, you may need to use an adhesive pad or mounting disk to create a smooth surface for the suction cup mount.
Make sure to follow the manufacturer’s instructions when using additional adhesives.
Once the surface is clean and prepared, you can confidently attach your dash cam and enjoy clear and stable footage on your journeys.
3. Installing the Mounting Bracket
To securely install the mounting bracket for your camera, you’ll want to follow these simple steps.
First, ensure that the surface of your dashboard is clean and free from any dirt or debris. This will help the adhesive on the mounting bracket stick properly.
Next, locate a suitable spot on your dashboard where you want to mount the camera. Make sure it’s within reach and doesn’t obstruct your view while driving.
Once you’ve chosen the spot, peel off the protective backing from the adhesive on the mounting bracket and firmly press it onto the dashboard surface. Apply some pressure for a few seconds to ensure a strong bond.
Finally, let it sit for a couple of hours before attaching your dash cam to allow the adhesive to fully set.
By following these steps, you can ensure that your dash cam is securely mounted on your dashboard, providing you with clear footage while driving without any distractions or obstructions.
4. Attaching the Dash Cam to the Bracket
Once the adhesive has fully set, you can easily attach your dash cam to the bracket for effortless recording on-the-go.
Start by aligning the mounting holes on the back of your dash cam with the corresponding holes on the bracket. Make sure they’re properly lined up to ensure a secure fit.
Once aligned, gently push the dash cam onto the bracket until it clicks into place. Give it a slight tug to ensure that it’s securely attached.
It’s important to note that different dash cams may have slightly different attachment mechanisms, so consult your specific user manual for any additional instructions or precautions.
With your dash cam securely attached to the bracket, you can now enjoy worry-free recording while driving, capturing every moment and ensuring peace of mind on your journeys.
5. Ensuring a Secure and Stable Mount
To ensure a secure and stable attachment, you’ll want to double-check that the brackets are aligned correctly before firmly attaching your recording device. This step is crucial in ensuring that your dash cam remains in place while driving, preventing any potential disruptions or accidents.
Start by positioning the brackets on the dashboard where you want your dash cam to be mounted. Make sure they are evenly spaced and aligned with each other. Once you’re satisfied with their placement, use a screwdriver or wrench to tighten the screws until they’re securely fastened.
Give them a gentle shake to ensure there’s no wobbling or movement. It’s important to note that different vehicles may require specific mounting techniques, so consult your dash cam’s manual for any additional instructions tailored to your car model.
By taking the time to properly align and secure the brackets, you can enjoy peace of mind knowing that your dash cam will stay in place throughout your journeys, capturing all necessary footage without any surprises along the way.
Conclusion
In conclusion, mounting a dash cam on your dashboard is a relatively simple process that can greatly enhance your driving experience. By choosing the right spot for mounting, you ensure optimal visibility without obstructing your view of the road.
Preparing the dashboard surface by cleaning it thoroughly and using adhesive pads or suction cups will help create a secure base for the mounting bracket. Installing the mounting bracket requires carefully following the manufacturer’s instructions to ensure proper placement and stability.
Once the bracket is securely in place, attaching the dash cam itself is usually as easy as sliding it into position or using screws to secure it. It’s important to double-check that the mount is stable before hitting the road, as any movement or vibration could affect video quality.
Overall, properly mounting your dash cam ensures clear and reliable footage while driving, allowing you to capture any incidents or accidents that may occur on the road. Following these steps will help you achieve a secure and stable mount for your dash cam, providing peace of mind and potentially invaluable evidence in case of any unforeseen events.
So go ahead and take advantage of this helpful technology to make your driving experience safer and more enjoyable.