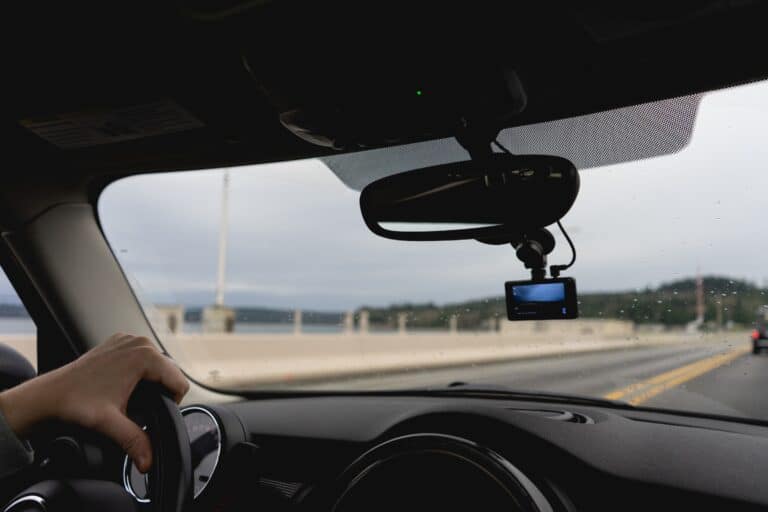
How to Remove 3M Adhesive from Windshield [For Dashcams]
3M adhesive is a strong and dependable adhesive that is used for a variety of purposes, including the attachment of windshield-mounted devices such as dashcams.
However, there are times when 3M adhesive must be removed from the windshield. For instance, when replacing a dashcam or cleaning the windshield, the adhesive must be removed.
Nevertheless, removing it might be difficult since the glue is sticky and leaves residue on the windshield, making it tough to remove completely. In this post, we will go through exactly how to remove 3M adhesive off a windshield.
Table of Contents
- Supplies Needed To Remove 3M Adhesive from Windshield
- How to Remove Adhesive From Windshield: A Step-by-Step Guide
- Cleaning the Adhesive Residue On the Windshield
- Alternative Methods to Remove 3M Adhesive from Windshield
- Tips for Removing 3M Adhesive from Glass
- The Bottom Line
Supplies Needed To Remove 3M Adhesive from Windshield
Before we get into the steps for removing 3M adhesive from a windshield, let’s take a look at the supplies you’ll need.
The following materials and tools are required for the job:
- Blow dryer: A blow dryer is used to heat up the adhesive, making it easier to remove.
- Rubbing alcohol: Rubbing alcohol is used to clean the windshield after removing the adhesive.
- Soft cloth: A soft cloth is used to apply the rubbing alcohol and clean the windshield.
- Plastic scraper or credit card: A plastic scraper or credit card is used to scrape off the adhesive without damaging the windshield.
- Razor blade (optional): A razor blade can be used to remove stubborn adhesive residue, but it should be used with caution.
How to Remove Adhesive From Windshield: A Step-by-Step Guide
Now that we know everything we’ll need to remove the adhesive, here is a step-by-step guide on how to remove 3M adhesive from a windshield using a blow dryer:
- Turn on the blow dryer and adjust the temperature to the maximum level.
- Hold the blow dryer 2 inches away from the adhesive and aim hot air at it. Circularly move the blow dryer to evenly heat the adhesive.
- After a minute or two, check to see if the adhesive is softening. This can be done by attempting to lift a corner of the adhesive with a plastic scraper or a credit card. If the adhesive is still tough to remove, keep heating it.
- Once the adhesive has softened, carefully scrape it off the windshield using a plastic scraper or credit card. Avoid scratching or damaging the windshield.
- Clean the residue left on the windshield in the following way.
Cleaning the Adhesive Residue On the Windshield
After removing the adhesive from the windshield, it is essential to clean the windshield properly to remove any residue and prevent any damage to the glass. The best way to clean the windshield is to use rubbing alcohol and a soft cloth.
Apply rubbing alcohol to the cloth and rub it onto the windshield in a circular motion. Repeat this process until all the residue is removed, and the windshield is clean.
Once all of the adhesives have been removed, wipe the windshield with a clean cloth to get rid of any remaining rubbing alcohol.
Alternative Methods to Remove 3M Adhesive from Windshield
If you don’t have a blow dryer, here are some alternative methods to remove 3M adhesive from a windshield:
- Using dental floss or fishing wire: Cut a long piece of dental floss or fishing wire and use it to “saw” through the adhesive. Use a back-and-forth motion to cut through the adhesive, and then gently peel it off the windshield.
- Using a heat gun or hair dryer: A heat gun or hair dryer can be used instead of a blow dryer to heat up the adhesive. Hold the heat gun or hair dryer about 2 inches away from the adhesive and direct the hot air towards it. Move the heat gun or hair dryer in a circular motion to heat up the adhesive evenly.
- Applying adhesive remover: Apply adhesive remover to the adhesive and let it sit for a few minutes before scraping it off. Adhesive remover is a chemical that breaks down the adhesive and makes it easier to remove. Make sure to read the instructions on the adhesive remover before using it.
- Using a scraper or razor blade: A scraper or razor blade can be used to remove stubborn adhesive residue, but it should be used with caution. Hold the scraper or razor blade at a narrow angle to the windshield and scrape off the residue gently. Make sure to avoid putting too much pressure on the windshield to prevent any damage.
Tips for Removing 3M Adhesive from Glass
Removing 3M adhesive from a windshield can be a challenging task, but with the right techniques and tools, it is possible to do it effectively. Here are some tips to help you remove 3M adhesive from your windshield successfully:
- Be patient: Removing 3M adhesive can be a time-consuming process. Be patient and take your time to avoid damaging the windshield.
- Use the right tools: Use the tools that are recommended for the job, including a blow dryer, plastic scraper or credit card, and rubbing alcohol.
- Use the right technique: Follow the steps and techniques outlined above to remove the adhesive effectively and safely.
- Protect the windshield: Be careful not to scratch or damage the windshield while removing the adhesive. Use a plastic scraper or credit card to scrape off the adhesive gently.
- Wear protective gear: Wear gloves and protective eyewear to protect yourself from any chemicals or debris that may come off during the process.
The Bottom Line
Removing 3M adhesive from a windshield can be a difficult task, but with the right techniques and tools, it is possible to do it effectively and safely.
Using a blow dryer is the most effective and safest way to remove the adhesive. But alternative methods such as using dental floss or fishing wire, a heat gun or hair dryer, adhesive remover, or a scraper or razor blade can also work.
The key is to be patient and careful and use the right tools and techniques to avoid damaging the windshield. With these tips and techniques, you can remove 3M adhesive from your windshield and get your new dashcam installed. In case you’re having a tough time choosing your new dash cam, here is our list of the best dual-channel dash cams.

